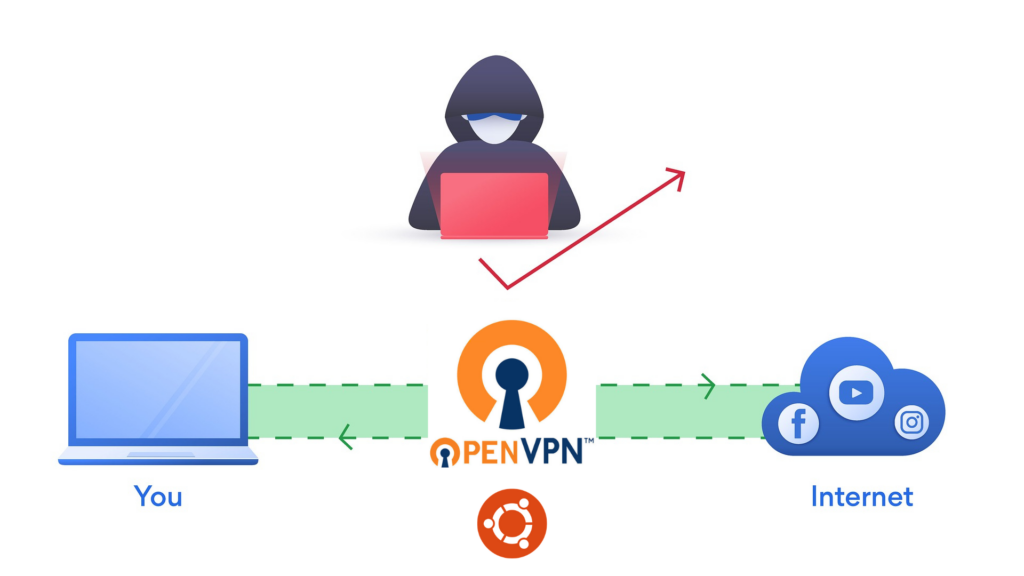
OpenVPN is the application that supports site-to-site and point-to-point connections to create either a routed or bridged configuration of either remote access facilities. OpenVPN allows superuser securely connect various computers into a secured network through the internet, hence giving users a legacy way for connecting to different resources on the network in a location not connected to the private network.
Now let’s get to the steps.
We’ll set up Server first
Install OpenVPN
sudo apt install openvpn easy-rsa
Set up CA to generate certificates and keys for Server & Client
Set up directory
sudo make-cadir /etc/openvpn/easy-rsa
Become root & change to the newly created directory /etc/openvpn/easy-rsa and run
./easyrsa init-pki
./easyrsa build-ca
Generate key pair for the server
./easyrsa gen-req myservername nopass
Replace myservername with your desired server name
Generate Diffie Hellman parameters for server
./easyrsa gen-dh
Generate certificate for the server
./easyrsa sign-req server myservername
Copy all keys and certificates that have been generated in sub directories to /etc/openvpn/
cp pki/dh.pem pki/ca.crt pki/issued/myservername.crt pki/private/myservername.key /etc/openvpn/
Generate client certificate
./easyrsa gen-req myclient1 nopass
./easyrsa sign-req client myclient1
Make sure you replace myclient1 with your client name
Now securely copy the below files to client machines(can use scp)
pki/ca.crt
pki/issued/myclient1.crt
Copy server.conf from sample config files that you got along openvpn installation at /usr/share/doc/openvpn/examples/sample-config-files/
sudo cp /usr/share/doc/openvpn/examples/sample-config-files/server.conf /etc/openvpn/myserver.conf
Edit /etc/openvpn/myserver.conf and make sure following are pointing to correct files
ca ca.crt
cert myservername.crt
key myservername.key
dh dh2048.pem
Generate ta.key for tls-auth at /etc/openvpn/
sudo openvpn --genkey --secret ta.key
Edit /etc/sysctl.conf and uncomment the follwing line to enable ip forwading
#net.ipv4.ip_forward=1
Reload sysctl
sudo sysctl -p /etc/sysctl.conf
Start openvpn service
sudo systemctl start openvpn@myserver
REMEMBER to insert your server configuration file’s name at openvpn@<your server conf file name>, If not it won’t start.
Check status of service
sudo systemctl status openvpn@myserver
Make sure you have something like Initialization Sequence Completed as last line
You can use the below command to view logs
sudo journalctl -u openvpn@myserver -xe
Also check if OpenVPN has created a tun0 interface
ip addr show dev tun0
Client configurations
Install OpenVPN
sudo apt install openvpn
copy client.conf from sample files to /etc/openvpn/
sudo cp /usr/share/doc/openvpn/examples/sample-config-files/client.conf /etc/openvpn/
Make sure the below are pointing to the correct files in /etc/openvpn/client.conf if not securely copy them from the server
ca ca.crt
cert myclient1.crt
key myclient1.key
tls-auth ta.key 1
Make sure following two lines are correctly so it’ll enable client mode
client
remote <your server ip/hostname> 1194
Start OpenVPN client service
sudo systemctl start openvpn@client
Check status of service
sudo systemctl status openvpn@client
See whether It says Initialization Sequence Completed at last line
Check logs on server and see if the client name and source present and recieving connection
Check if OpenVPN created tun0 interface
ip addr show dev tun0
Try pinging VPN server from client
root@client:/etc/openvpn#ping 10.8.0.1
PING 10.8.0.1 (10.8.0.1) 56(84) bytes of data.
64 bytes from 10.8.0.1: icmp_req=1 ttl=64 time=0.920 ms
If you see the same output as above then its all good you’ve successfully set up a simple OpenVPN Server and Client network.
Visit Ubuntu official documentation for more info and some advanced configurations.
We value your input. Share your thoughts or ask questions by leaving a comment.


